How to easily record your computer screen?
A question many people ask. You might have asked yourself the same questions while working on your computer. I wish I am able to record that? With the increased popularity of video marketing, especially on YouTube; many people are looking for ways to record their computer screens.
- YouTube Gamers record their computer screens along with webcam recording while they are playing & reviewing games.
- Bloggers can record their computer screens to share with their readers how to guides & tutorials.
- Programs can also record their computer screens to share with their readers how they can configure & program different programs and tools.
- Teachers and eLearning course creators can record their computer screens to share a presentation or create educational materials.
But how do you record your computer screen? You might think you need an expensive software to record your computer screen, No you don’t. There are many cheap or free options to record your computer screen.
Here is a list of the top ways how you can record your computer screen. Some of the tools are already available to you with no extra software to download which you can use for free. Other methods require you to download a Desktop software which could be free or paid.
It worth to mention that not all the ways mentioned below allow you to edit your video after your record it. You might need to use an additional video editing software for some of the methods mentioned below.
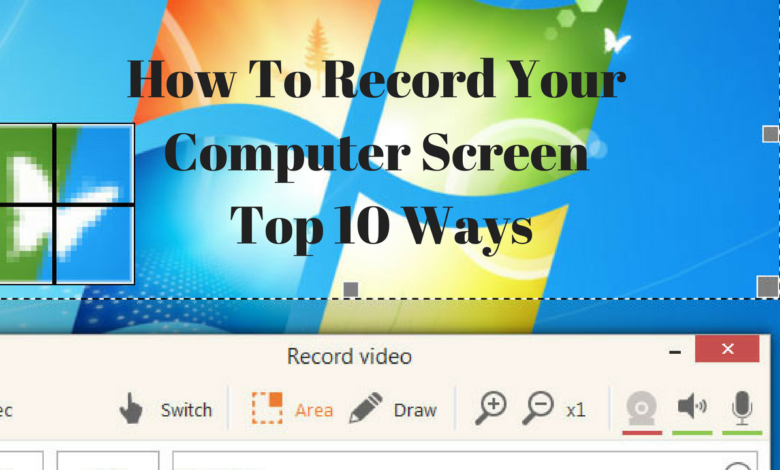
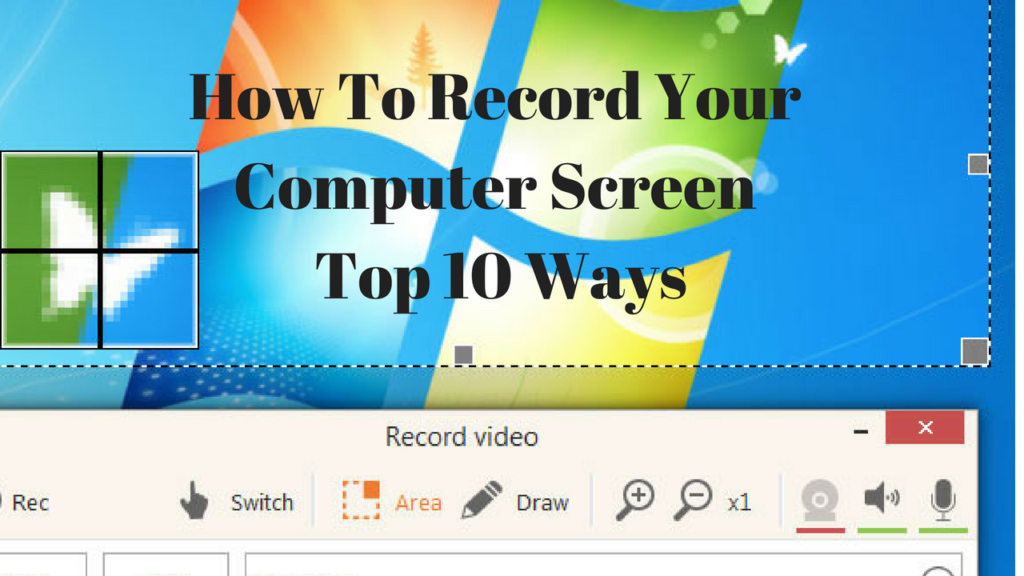
How To Record Your Computer Screen
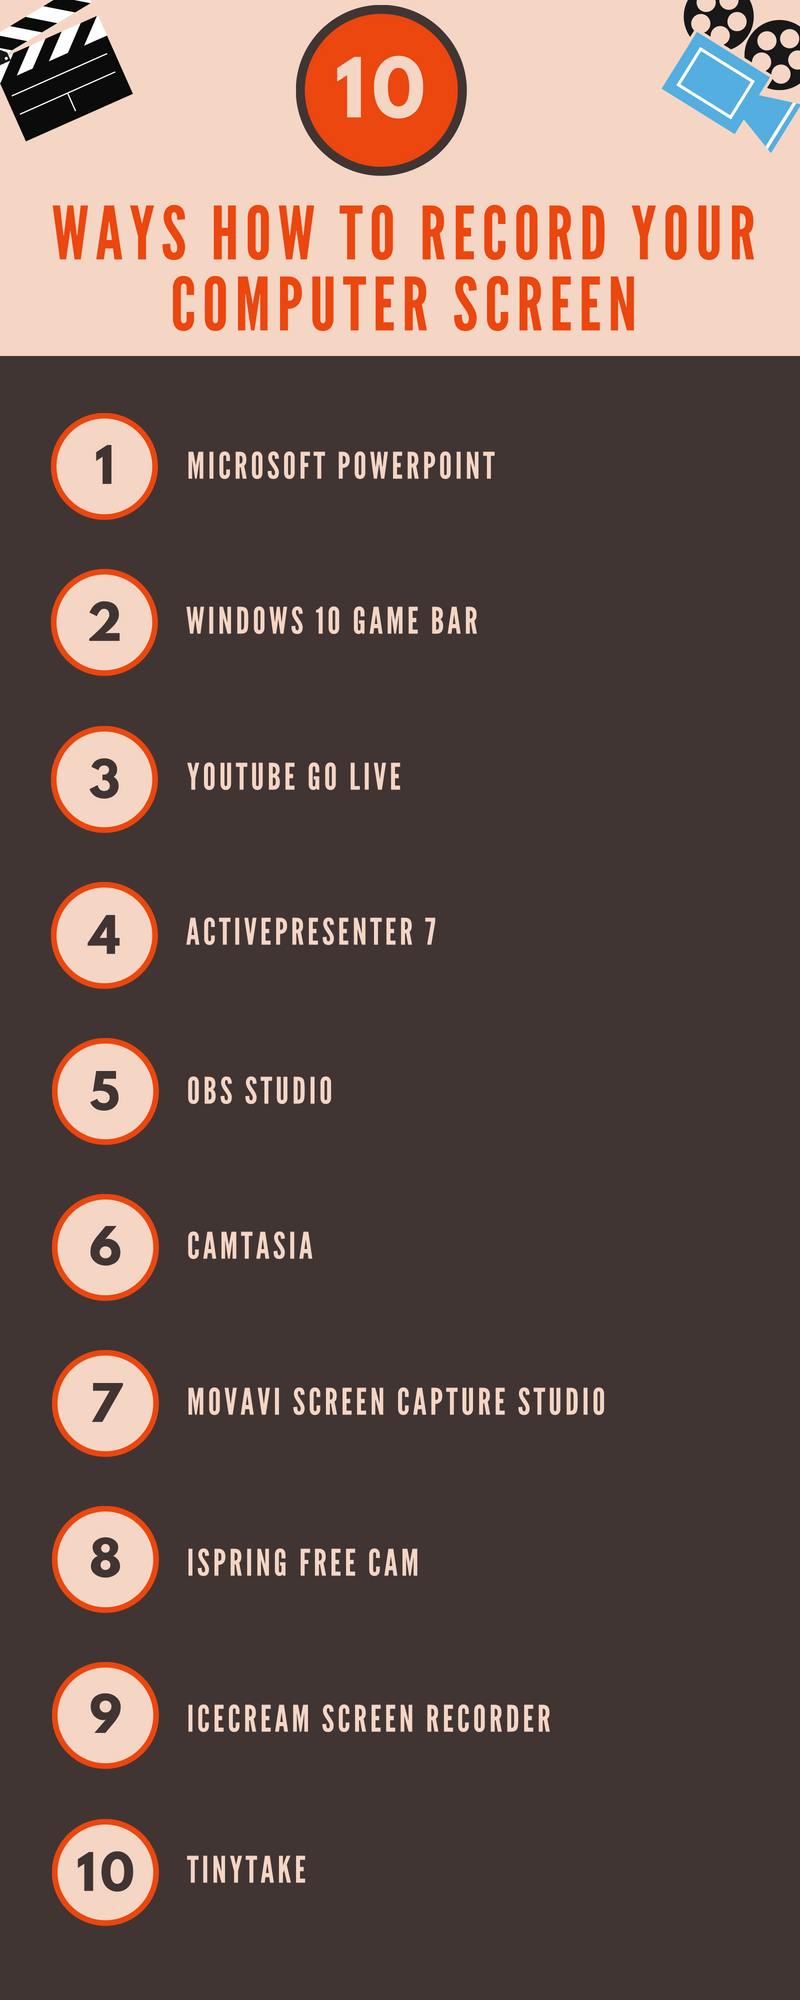
1. Microsoft PowerPoint
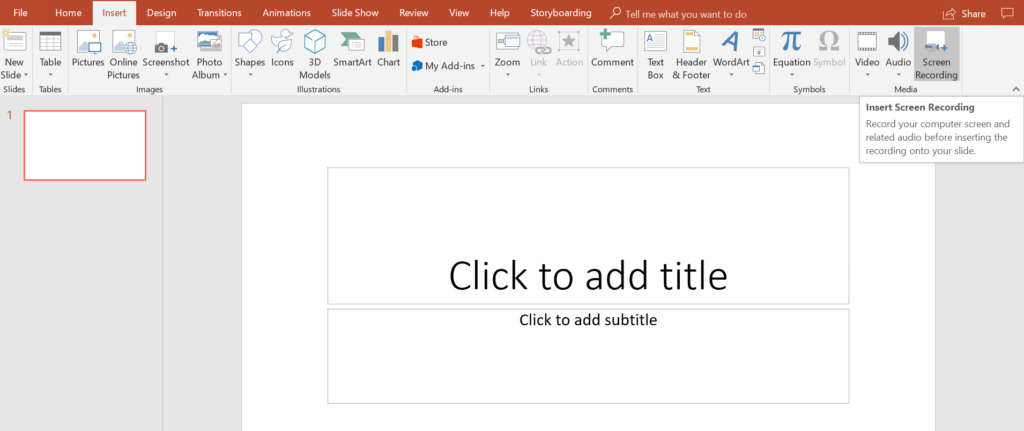
Microsoft PowerPoint is very famous Microsoft desktop app for creating and editing presentations. With the latest Microsoft PowerPoint update, you can use PowerPoint to record your computer screen by following the below steps:
- Step 1: Click on “Insert” tab, and select “Screen Recording”.
- Step 2: Click “Select Area” to choose the specific area of your screen you want to record. If you want to record the entire screen, press the Windows Key, Shift and “F”.
- Step 3: Click the “record” button,” or press the Windows key, Shift and “R”.
- Step 4: Once you are done press the Windows key, Shift and “Q” to stop recording.
- Step 5: Video Editing features are pretty good in PowerPoint. To edit your video, “Right click” on your video and choose “Format Video” check what available editing option you can use.
- Step 6: “Right click” on your video and choose “Save Media as” to save your video on your local drive and upload it later to your YouTube channel.
2. Game Bar

Did you know that Windows 10 has a hidden screen recording utility called Game Bar? It comes as a part of the Xbox app that comes installed by default in Windows 10. This tool has a Game mode option which ensures you play your game with the best possible experience during recording, you can turn it on and off.
The tool allows you to have live video broadcasting. You can choose to record audio or not, turn on computer Camera or not. To use this Game bar to record your screen follow below steps:
- Step 1: Click on “Windows key” + “G letter” at the same time to open the app.
- Step 2: Check the “Yes, this is a game” checkbox to load the Game Bar.
- Step 3: Click on the Start Recording button or (Win + Alt + R) to start recording.
- Step 4: Click on red Stop recording button or (Win + Alt + R) to stop recording. The video will automatically be saved on your computer in a pre-configured folder. You can check the folder location by clicking on the folder button on the main menu of Game Bar.
Game bar has no video editing features so you would need a video editing software if you need to edit your record video.
3. YouTube Go Live

If you have a YouTube channel you can use a YouTube feature called Go Live or live streaming to record your computer screen. The feature is initially made by YouTube to allow YouTubers to live stream to their subscribers.
It can be used to record your computer screen in the same way you would normally do for live streaming.
- Step 1: Click “Camera” button, click “Go Live”. If Live Streaming is not enabled for your channel, it might take up to 24 hours to get activated. (Needs channel to be eligible for live streaming).
- Step 2: Click “Events”, and select “New live event”.
- Step 3: Fill out the required details, and click “Go Live Now“. A Google Hangouts page will open.
- Step 4: Click on “Screenshare” on the left hand and choose a desktop window which you want to record.
- Step 5: Click “Start Screenshare”, then “Start Broadcast.”
- Step 6: Once you are done, click “Stop Broadcast” and save your event.
4. ActivePresenter 7
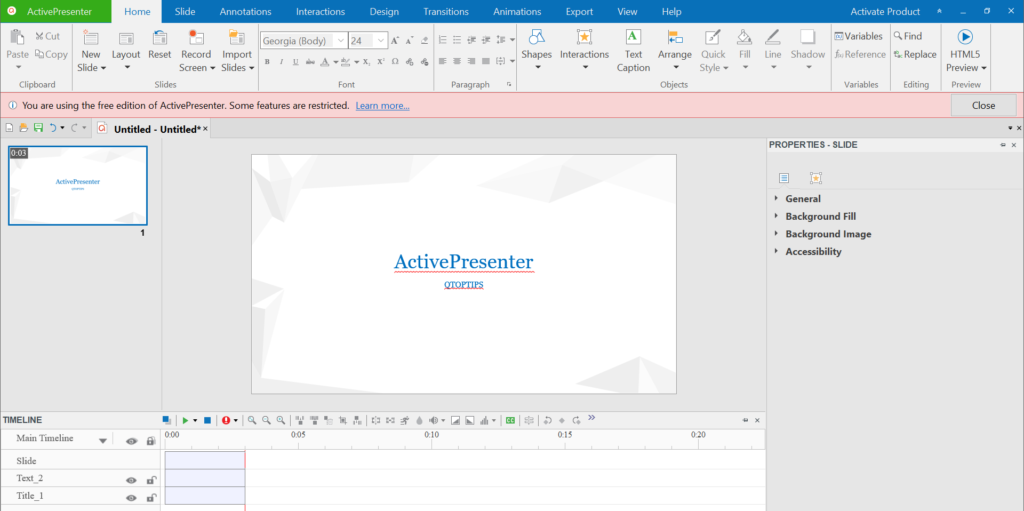
ActivePresenter 7 is by the far the best free screen recording tool. It is an All-In-One Solution including Screen Recorder, Video Editor & eLearning Authoring Software. The software interface looks exactly like Microsoft Powerpoint. The Free Edition is for personal use and doesn’t have any commercial use rights.
Free Edition Top features:
- Advanced recording features Full Motion Recording, Smart Capture.
- Video editing: Cut, Crop, Join, Change Volume, Speed Up, Slow Down.
- Multiple Audio/Video Layers.
- Rich annotations: Shapes, Image, Zoom-n-Pan, Closed Caption, Cursor Path, Audio/Video Overlays.
- Smart Annotation.
- Themes & Templates.
- Export to: MP4, WebM, MKV, AVI, WMV.
- Record Webcam along with screen recording.
- Support both Windows & MacOs devices.
To have commercial user rights and unlock additional features $199 for the standard edition or 399$ for the pro edition.
5. OBS Studio (free)

OBS Studio is One of the best and most advanced & sophisticated free screen recording & streaming tool. The initial setup might take time and the options look overwhelming, but with time you will get used to the options available.
There is no limitation on video length or watermark. OBS Studio is completely free.
6. Camtasia (Paid)
Camtasia is a feature-rich paid screen recording & editing software. It comes loaded with tons of features to help you create a stunning video. You can check the full list of supported features on their website.
Camtasia is very expensive, it comes at a price of $249 for a single license, but if you regularly create videos, it’s users swear by it!
There is a 30 days free trial to test the software capability before buying. Unless you will be really needing the software and will use it regularly I don’t recommend buying it.
7. Movavi Screen Capture Studio (Paid)
Screen Capture Studio by Movavi is a paid desktop software that allows you to record your desktop screen and edit your videos. It supports Windows, MacOs, iOS, and Android devices.
Top features include:
- Video recording of any video screen.
- Delete Unwanted parts of your video.
- Unlimited Video length.
- Video editing.
There is a 7 days free trial to test the software capability before buying. All Videos created on a free trial will have a watermark. The paid version cost $59.95. Movavi also has a special video recording software for games called Gecata by Movavi (Paid) for $19.95. also available for free trial.
8. iSpring Free Cam (Free)
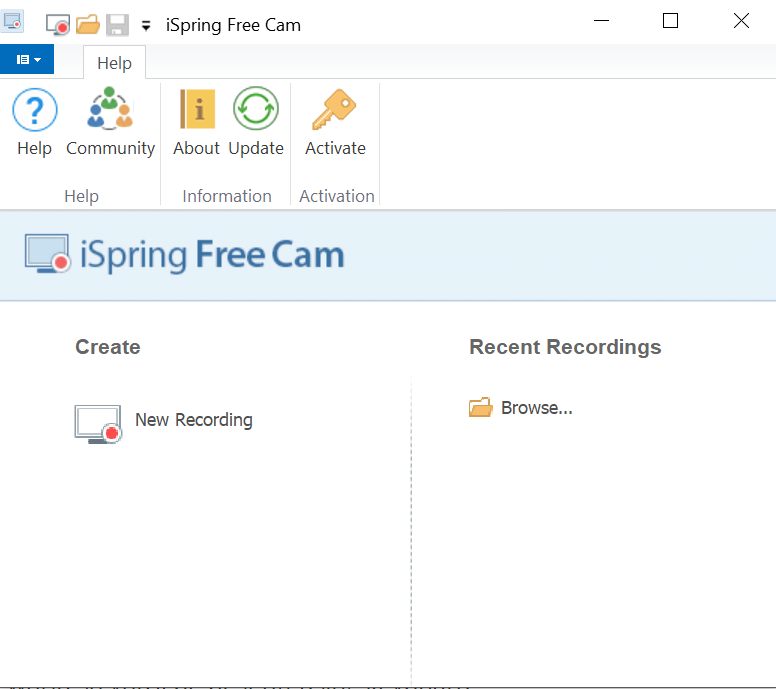
iSpring Free Cam is a free computer screen recorder and editor tool for Windows only. It has a multiple video editing options to let you fine-tune your video. Videos can be saved as WMV or uploaded to YouTube.
Bonus: There are no watermarks or video length limitation.
9. Icecream Screen Recorder (Free & Paid)
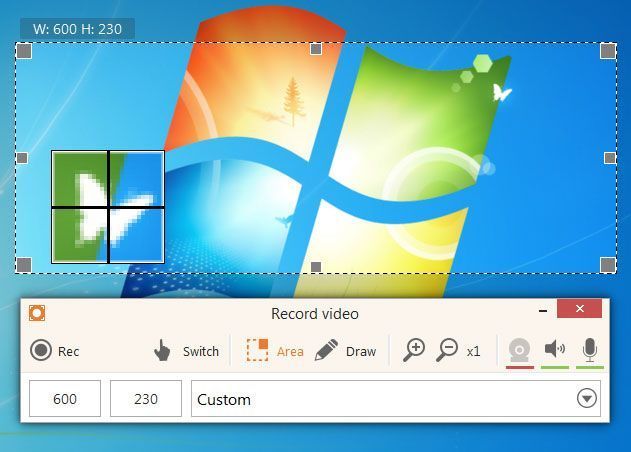
Icecream is one of the best computer screen recording tools. It comes with a lot of advanced features and suitable for many uses including Webinars, how to tutorials, steps videos, games and many others.
Top Features:
- Select any area on your desktop to start recording.
- Draw, outline, and add arrows or text to your screenshot or video while recording.
- Add your own Logo (Paid version).
- Record Webcam video along with screen recording.
- Zoom in while recording.
- Around mouse screen recording.
- Step tool.
- Trim recorded videos.
- Change the format of your recorded video file (Paid version).
- Many other features.
Unfortunately, the free version of Icecream Screen Recorder comes with 5 Mins video length limitation and only available with WebM video file format. To unlock limitation and additional features, you need to upgrade to the paid version for $29.95.
10. TinyTake (Free and Paid)
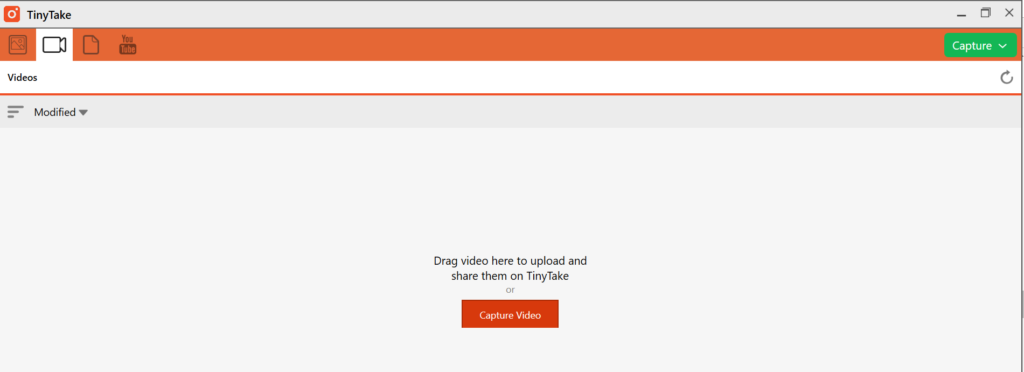
TinyTake is a computer screen recording and screen capture PC software which you can install on your computer. It can be used to screen capture your desktop creating photos or for screen recording your desktop for videos.
TinyTake allows you to record a video with a maximum of 5 Min length with no watermark. While 5 min doesn’t sound much, it is pretty much enough for the average Youtube How to guide or tutorial video.
TinyTake has a cloud storage of 2GB for saving your videos online for free. Not the best choice for gamers! The paid version is available as an annual subscription plan which starts from $29.95 a year for standard plan all the way up to $199.95 a year for a business plan.
Top Features:
- Capture and Annotate Images.
- Capture and Annotate Videos – Maximum video length is 2 Hours.
- Bulk File Sharing.
- In-built Viewer for Standard File Types.
- Directly Upload Video Captures to YouTube.
- Cloud storage. Storage size depends on your plan.
Final Takeaway
If you are a blogger, gamer or a teacher, there are times when you need to record your desktop screen. The best tool for the job will depend on what you are doing and how frequently.